Method 1 - Windows Troubleshooting

Step 1:


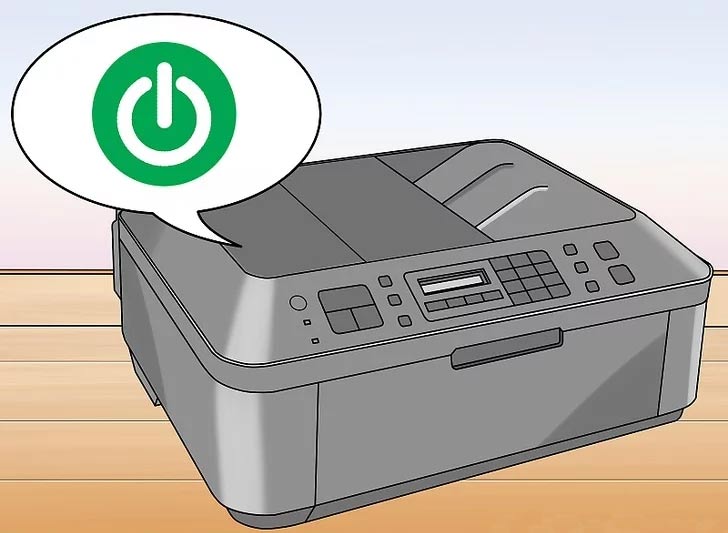
Ensure that your printer is switched on. Make sure your printer is turned on and connected to a power source before proceeding with the troubleshooting process.
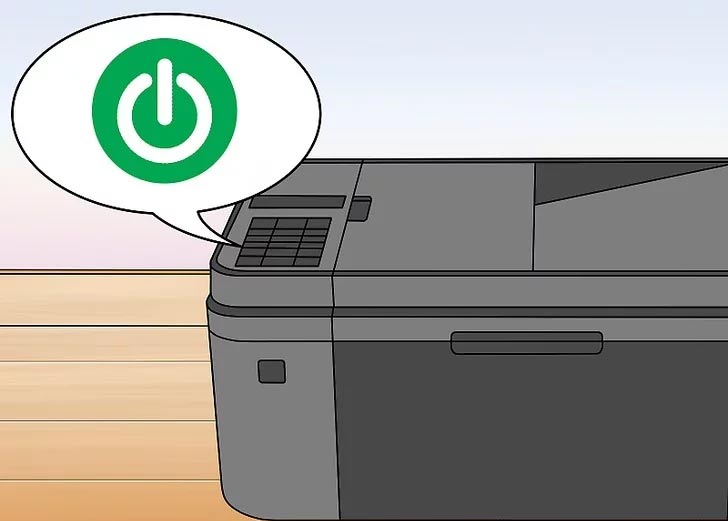
If the printer is in Sleep mode, you may need to press a button to wake it up.

Step 2:


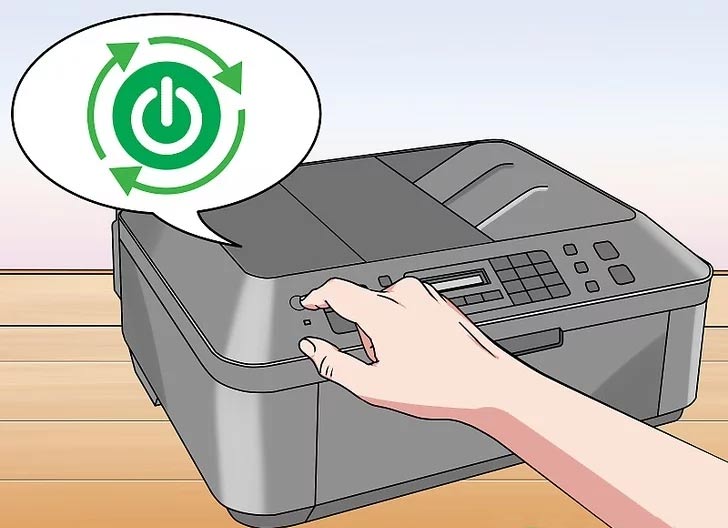
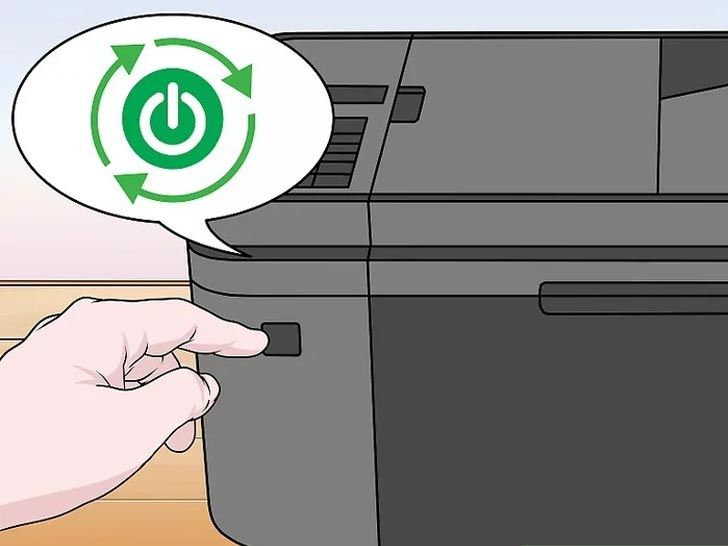
Restart your printer if it hasn’t done so already. If the printer was already turned on, a simple restart may resolve the issue and prevent it from appearing as unavailable.

Turn off and unplug your printer for 30 seconds to allow it to reset and reconnect with your computer. Then, plug it back in and turn it on. After a few moments, check if the printer is still showing as “offline.”


Step 3:


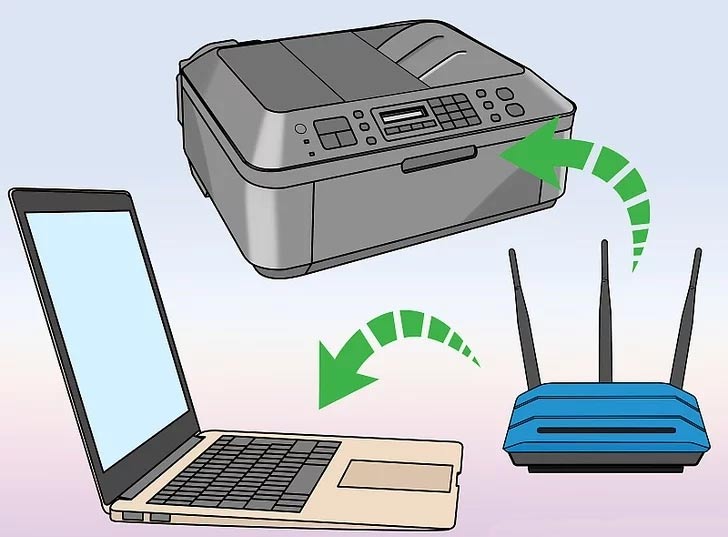
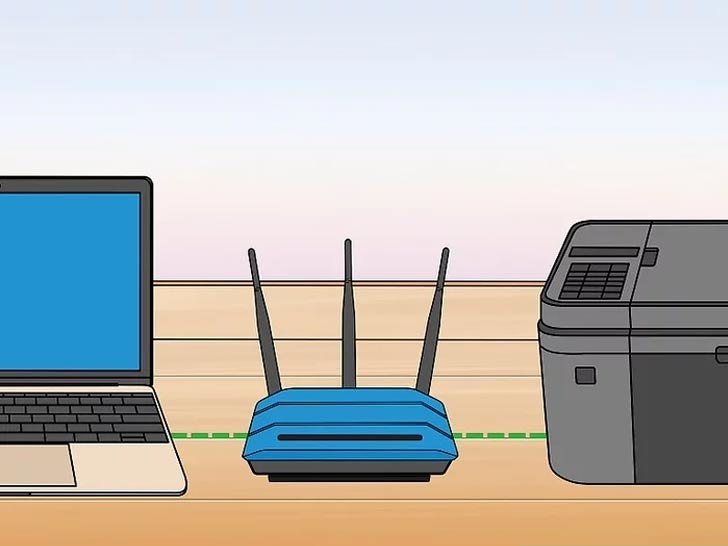
Ensure that your printer is connected to the same network as your computer. If your printer is connected via Wi-Fi or Ethernet, network issues may cause it to appear offline.

The steps to check network settings vary depending on the printer model, but you can usually navigate through the printer’s internal menu using its control buttons.

If you are using a USB connection, make sure the cable is securely plugged in. If the issue persists, try using a different USB cable to rule out any connection problems.

Step 4:


Ensure that the printer tray has enough paper. Some printers may go offline if there is no paper available for printing. If the tray is empty, load it with the appropriate paper and check if the printer resumes normal operation.

Step 5:


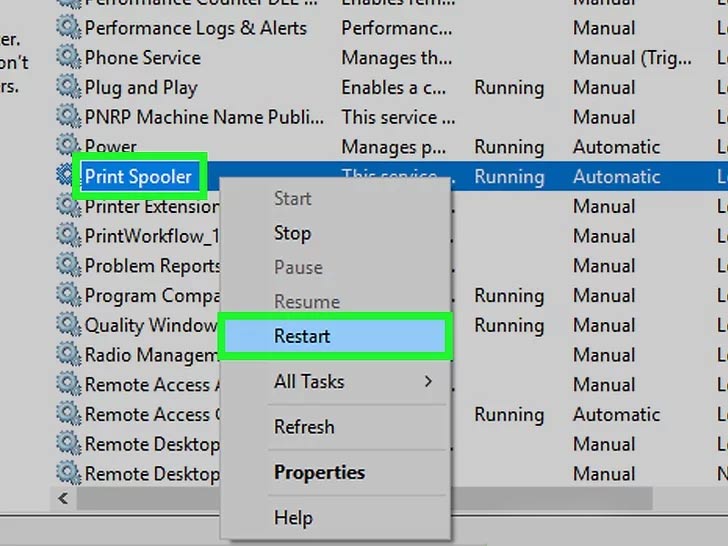
Restart the print spooler to refresh the service that manages print jobs.

Press Win + S to open the search bar and type "Services". Select Services from the search results, then scroll down to locate the Print Spooler service. Right-click on it and choose Restart. This will refresh the printer queue, allowing Windows to detect the printer again.

Wait a few minutes for the spooler service to restart, then check if the printer appears online.

Step 6:


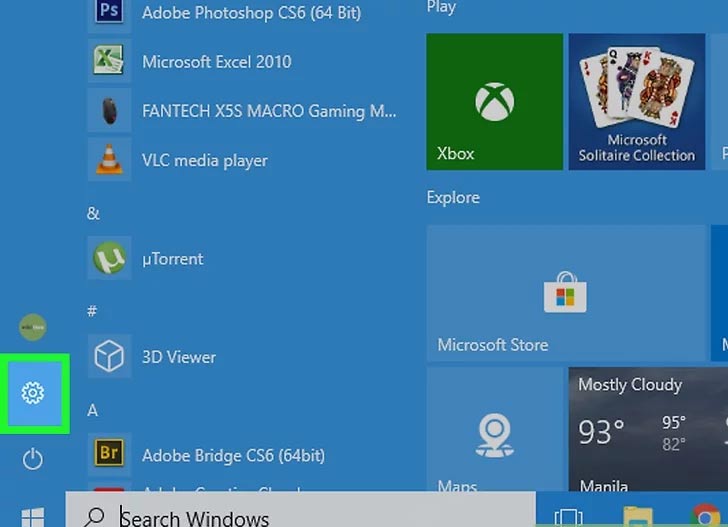
Open Settings from the Windows Start menu to explore additional troubleshooting options.

If the printer is still showing as offline, there are further steps you can take within the Devices or Printers & Scanners section to diagnose and resolve the issue.
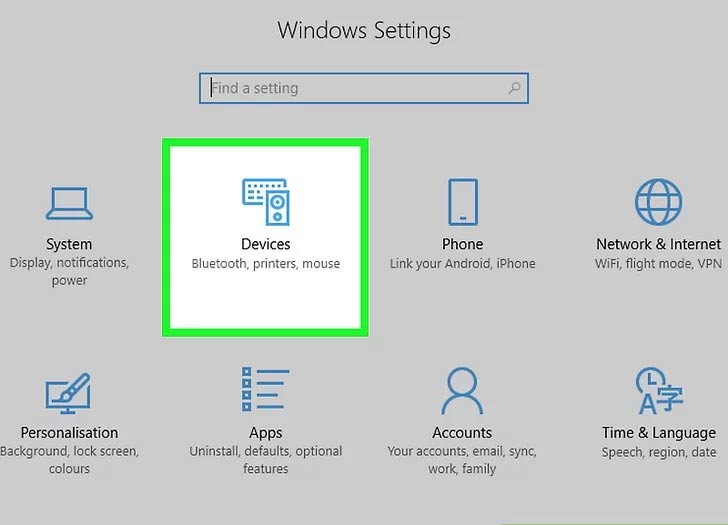
Step 7:


Select Devices from the Settings menu. This section contains options for managing printers and other connected devices.
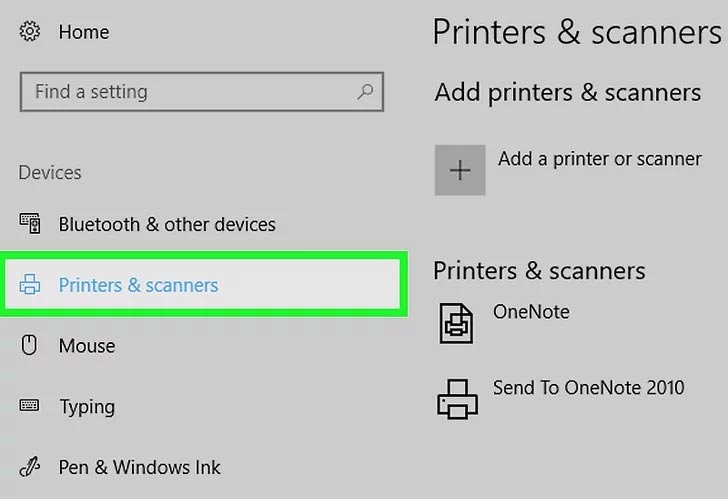
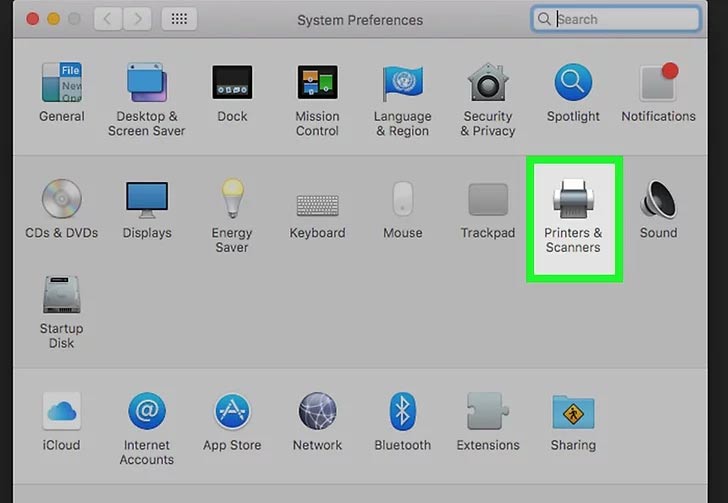
Step 8:


Click on Printers & Scanners from the menu.

This section will display your printer along with any other connected devices, allowing you to check its status and make necessary adjustments.
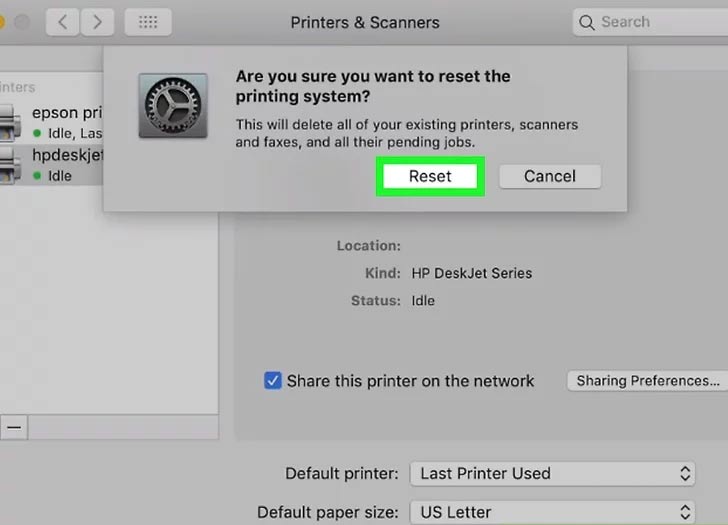
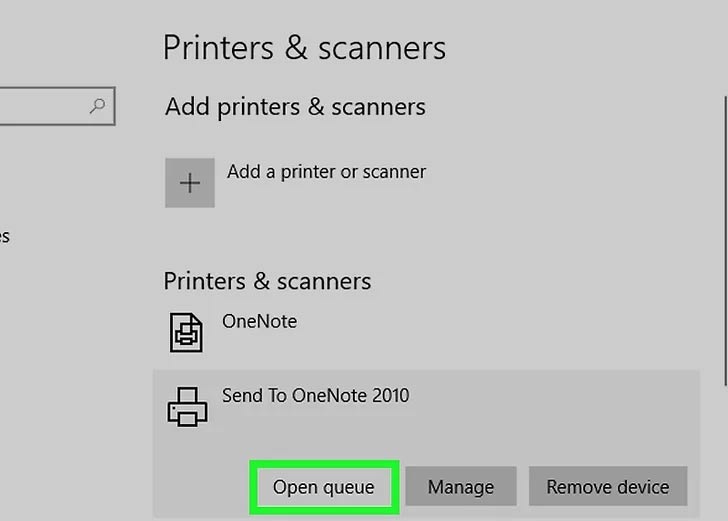
Step 9:


Clear the print queue to resolve any stuck print jobs.

Select your printer and click Open Queue. Choose any documents listed and click Cancel under the Document menu. Repeat this process until the queue is completely empty.

Once cleared, check if the printer resumes normal operation. If issues persist, continue with further troubleshooting.
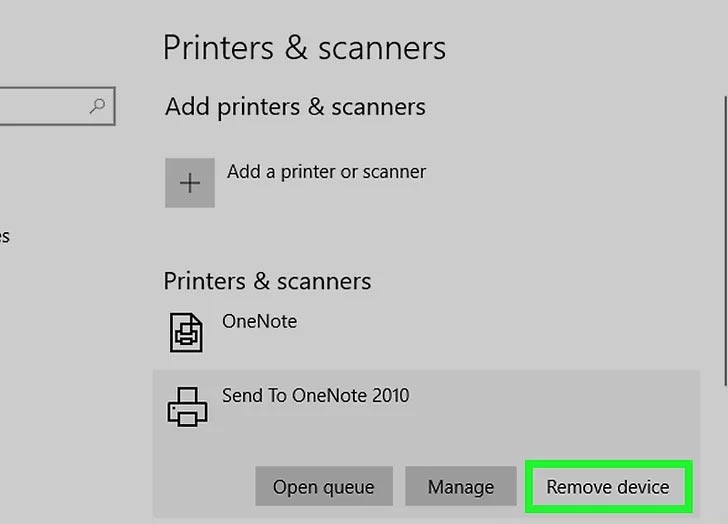
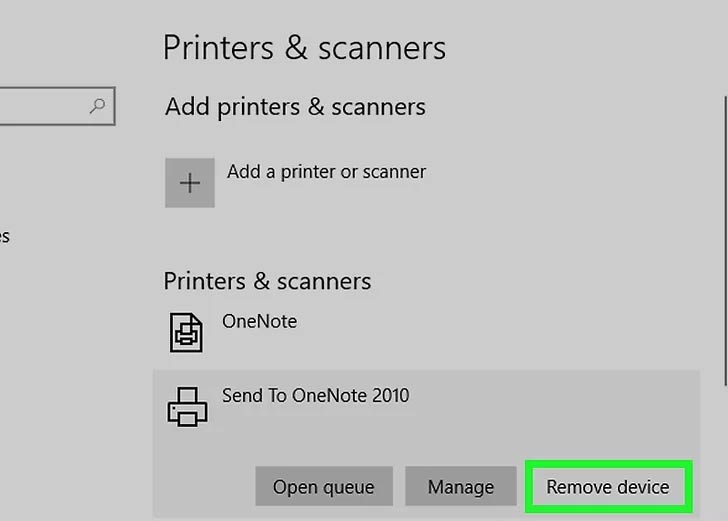
Step 10:


Click on your printer’s name and select Remove device.

This will remove the printer from your device list, allowing you to re-add it if needed.
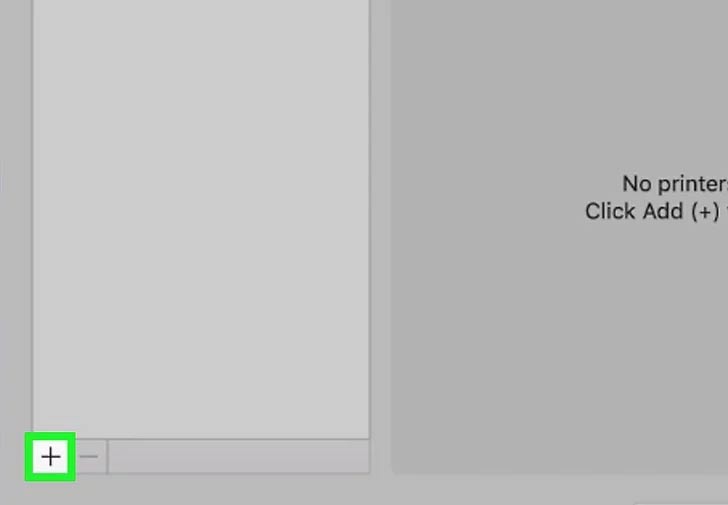
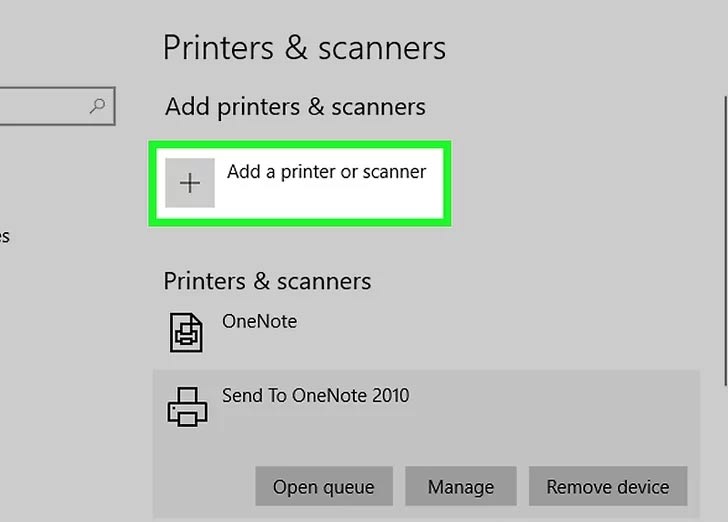
Step 11:


Click on Add a device or printer at the top of the Printers & Scanners menu.

This will allow Windows to search for available printers and guide you through the setup process.
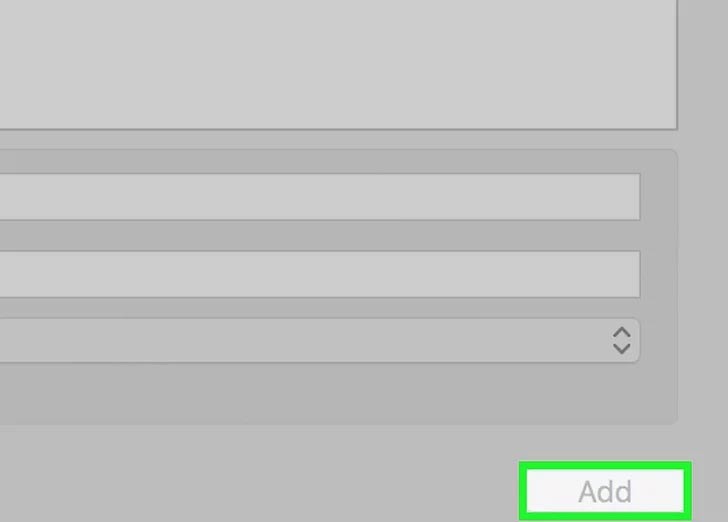
Step 12:


Follow the on-screen instructions to re-add your printer.

Once the setup is complete, check if the printer now appears as "online" and is ready for use.
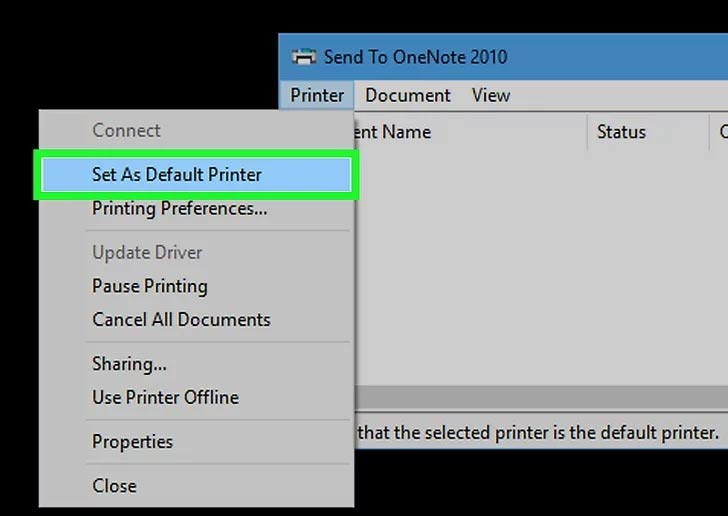
Step 13:


If your printer is still not functioning, setting it as the default ensures Windows recognizes it as your primary printer.

1. Open the Printers & Scanners menu.

2. Select your printer from the list.

3. Click Open Queue and go to the Printer menu

4. Choose Set As Default Printer to make it the primary device.

If the issue persists, it may be a hardware-related problem. Contact your printer’s manufacturer for additional troubleshooting and support.

Method 2 - Troubleshooting on Macos

Step 1:


Before proceeding with troubleshooting, verify that your printer is powered on and properly connected to a power source. If the printer is in Sleep Mode, press the power button or another designated button to wake it up.

Step 2:


If your printer is turned on but still appears unavailable, a simple restart may resolve the issue.

Turn off and unplug your printer for 30 seconds to allow it to reset.

Plug it back in and power it on.

Wait a few moments and check if the printer is now online.

Step 3:


If your printer is connected via Wi-Fi or Ethernet, network issues might cause it to appear offline.

Check your printer’s network settings using its built-in menu.

Ensure your computer and printer are on the same Wi-Fi network.

If using a USB cable, make sure it’s securely connected. If issues persist, try using a different cable.

Step 4:


Some printers go offline if there’s no paper loaded in the tray.

Check the paper tray and add paper if it’s empty..

Ensure the paper is properly aligned to avoid feeding issues.

If the printer still shows as offline, try restarting it.

Step 5:


Click on the Apple menu located in the upper-left corner of your screen. This will open a drop-down menu where you can access system settings related to your printer.

Step 6:


From the Apple menu, select System Preferences to access the settings needed to configure your printer.

Step 7:


In System Preferences, select Printers & Scanners or Print & Scan from the menu. This will open a new window displaying all printers connected to your Mac. Locate and choose the printer you wish to connect.

Step 8:


In the Printers pane, right-click anywhere in the list of printers. This will bring up a pop-up menu with additional settings and options for managing your printer.

Step 9:


In the menu, select "Reset printing system." A confirmation window will appear asking if you want to proceed with the reset. This will refresh your printer settings, and you may need to re-add your devices after restarting your Mac.

Step 10:


In the confirmation window, click "Reset" when prompted. Enter your Administrator username and password to proceed.

⚠️ Note: This action will remove all connected printers and scanners. After restarting your Mac, you will need to re-add any devices you still want to use.

Step 11:


Click OK after entering the Administrator’s name and password.

Once confirmed, the system will complete the reset of your Mac’s printing system.

Step 12:


Return to the Printers & Scanners section.

You’ll need to re-add the printer to your Mac after resetting your printing system.

Step 13:


Select Add a Device from the drop-down menu.

This brings up a window that searches for your printer and automatically detects it.

Before continuing with this step, make sure your printer is turned on and ready to connect.

Step 14:


Click Add after selecting your printer.

This will re-establish a connection between your printer and your Mac’s wireless network.

If there are no mechanical concerns, your printer should show online at this time. Make sure to reconnect any other devices this way to re-add them if you haven’t previously.

Step 15:


Seek help from your printer’s manufacturer.

If you’re still having problems with your printer, it’s most likely a hardware issue.

For more information and troubleshooting, contact the printer’s manufacturer.

Disclaimer

PrintScareShop provides detailed information to assist users in troubleshooting issues related to printers, extenders, Arlo, and Alexa devices. We are an independent platform and are not affiliated with any brand, associate program, or affiliate advertising network. Our website does not promote any specific product, brand, or software, nor do we provide access to external links. If you come across any external link on our site, please inform us, and we will remove it promptly. All brand names and product logos used on PrintScareShop are for representation purposes only, and we are not responsible for any external content or links.

Back To Top